Picture this: that online skincare order you made just arrived. You’ve got everything—and can’t wait to use them all. The best thing to do is to use them all immediately—right?! Wrong! Patch testing skincare is the first step. Or you may end up with a red face and not know why.
Believe us, we know how exciting it is to get a bunch of new skincare and want to slather it on ASAP. The thing is, you could be doing your skin more harm than good. It sounds nuts that putting on skincare could cause problems for your skin! But that’s why patch testing skincare is so important.
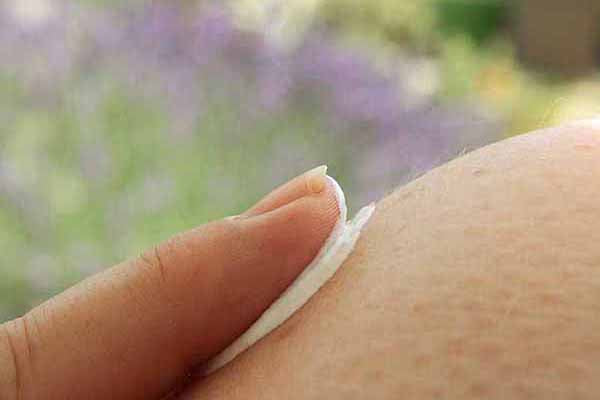
The term ‘patch testing’ comes from the actual medical procedure of testing for allergies on the skin. However, it's used casually to refer to testing any cosmetic on a small patch of your own skin before using it on a larger part of your body.
Testing On Clinical Skincare Products
Patch testing skin is really important. While products are formulated to be as perfect as possible for skin (pH balanced and using ideal concentrations), the thing is, everyone’s skin is different. Something that works for your friend isn’t always going to work for you—and the other way round.
It sucks, but sometimes your skin doesn’t care about skincare. Luckily, patch testing helps you figure out what ingredients your skin likes and what it doesn’t like!
What Does Patch Testing Skincare Tell You?
Let’s go back to the scenario above: let’s say you started using all of your new amazing products at once. Instead of your skin looking flawless, the opposite is happening—you’re getting breakouts where you normally don’t, and your skin just seems really red and irritated all the time. How are you supposed to tell which product is the one responsible? And that’s assuming it’s just one product that’s responsible!
The thing is, you can’t tell which product, and that’s why we patch test in the first place. Done properly, patch testing skincare tells you a lot about your skin (and how a particular product is going to work for you). Doing a patch test tells you two things: if this product is going to break out your skin, or if it’s going to irritate it.
If you patch test something and the spot you’ve applied the product turns bright red, you’ll be so relieved that it’s not your entire face. The same goes for a product breaking you out—while still not ideal, a cluster of pimples is so much easier to deal with if they’re all in one spot, and not everywhere.
Where to Patch Test
Ideally, you should do your patch testing on a part of your face that’s not very prominent. This is a strategic move. Just in case a product reacts badly on your skin, it won’t be as obvious to everyone else. However, it’s important that you still do the test on your face itself, or else the patch test results might not be as accurate. The skin on our faces is different from the skin on the rest of our bodies—that’s why we treat it differently.
A subtle place to patch test is the skin just under your earlobe. It’s not a super visible spot, which means that if things do go a little sideways, you can sort things out pretty quickly—and hopefully look like nothing happened.
If something disagrees with your skin, make a note of the ingredients. There’s probably just one ingredient in there that’s the culprit, but it’s a great start to getting to know your skin better. In the long run, it’ll help you get more efficient at choosing products that are right for you. Over time, you’ll notice common ingredients that pop up in different products, and it’s likely that this is the specific one that disagrees with you.
How to Patch Test Skincare
Now that we know where to patch test, how do we do it? Luckily, it’s pretty simple. Use the product as you normally would in a routine, but just in that small area of the face. This means you can get a good idea of how the product is going to interact with the rest of your routine in general.
If you’re patch testing a moisturizer, apply a small amount there every time you would moisturize. If you’re patch testing an exfoliator, you’d apply it there about twice a week (or even less). Basically, follow the instructions on the bottle, but only apply to that spot under your earlobe.
The longer you patch test something for, the better idea you’ll get for how it’s going to act on your whole face. A week to two weeks is a good rule of thumb for patch testing. That sounds like a long time, but two short weeks of patch testing is worth saving time trying to undo a bad skincare reaction!
Do All Skincare Products Need Patch Testing?
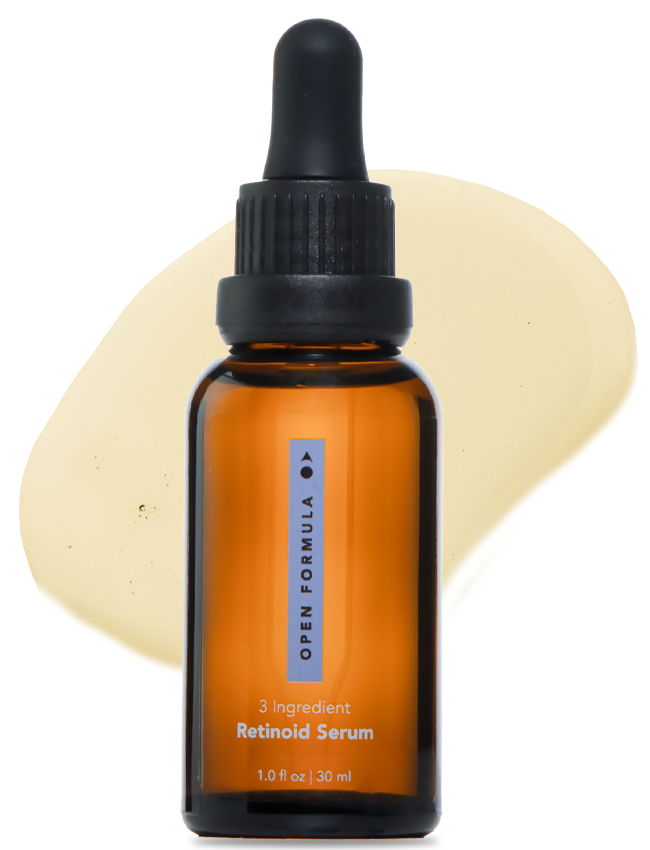
The thing is, there are some exceptions to patch testing, the main one being retinol. Why? Retinol (and other members of the retinoid family) commonly causes some inflammation & irritation first before they help the skin look better - it is just how it works. For example, it may cause acne to flare up before improving it. This usually happens a few weeks into using retinol. So, it's not necessary to patch test retinol because we expect a small initial breakout to happen.
Otherwise, pretty much everything should be patch tested. If it’s too tricky to patch test (like a face wash), introduce that product to your routine when you’ve got a good routine down. If your skin changes or reacts, then you’ll know it’s the face wash as that’s the only new thing. Face washes tend to tell you pretty quickly if they’re working for you or not, anyway!
Should Everyone PatchTest?
Don’t fall for the idea that patch testing is only for acne-prone and sensitive skin. While there are factors that make it more crucial for acne-prone and sensitive skin, the bottom line is anyone’s skin can react badly to a skincare product. If in doubt, always patch test!

